Growing your own cannabis plants can be a highly rewarding process. But, if you want to dip your toes into the hobby of home-grown weed, there are a few challenges to growing cannabis that you should be aware of.
Here, we are sharing seven of the most common challenges to growing cannabis, and offering up a few tips to help you overcome them.
1. Keeping Pests & Mold Out of Your Grow
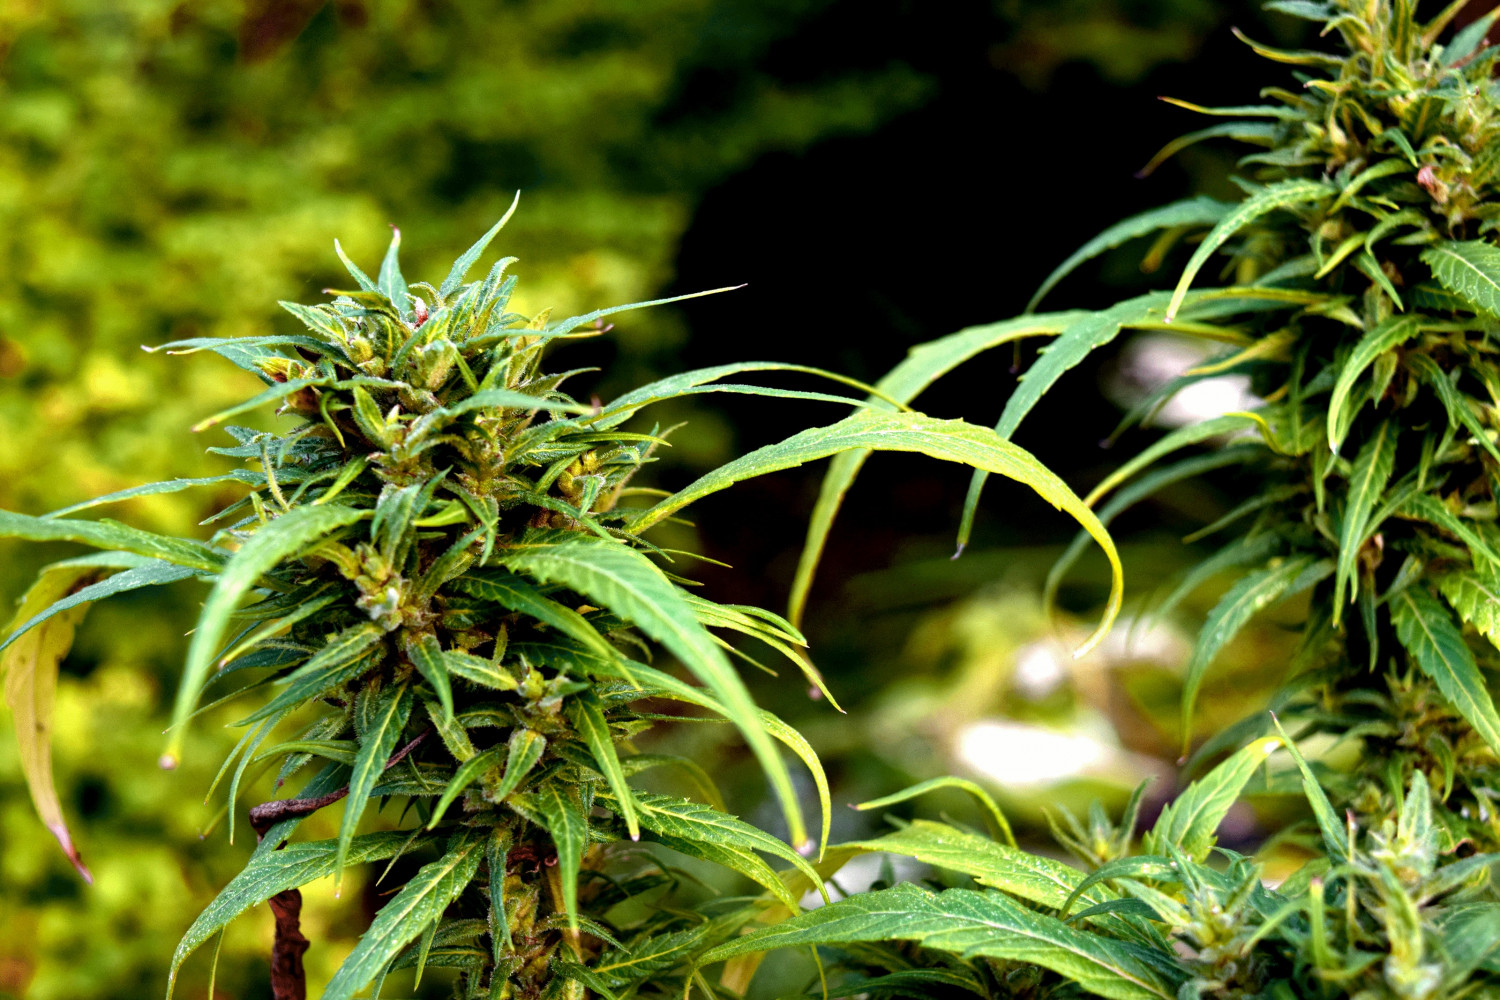
Like all plants, cannabis plants are susceptible to the environment. Pests and mold that exist within the environment can overtake and destroy plants. This can ruin whole crops and sometimes set growers back a full season. When growing outdoors, cannabis plants are particularly vulnerable to pests like aphids, grasshoppers, slugs, and spider mites. So, extra precautions must be taken to ensure the plants stay healthy.
The first step to growing healthy cannabis pests that will be free from pests and molds is to use high-quality pre-sterilized soil. If you don’t have access to sterile soil, you can sterilize your own. You can do this by putting it in the oven at 160 degrees Fahrenheit for 30-40 minutes, or until heated through. This kills lingering pests and their eggs and inhibits the growth of certain molds and bacteria.
Applying pest repellents like neem oils, diluted animal urine, and garlic are among some of the safe repellents to use on your cannabis crops. These can prevent both the growth of pests and address existing pest problems.
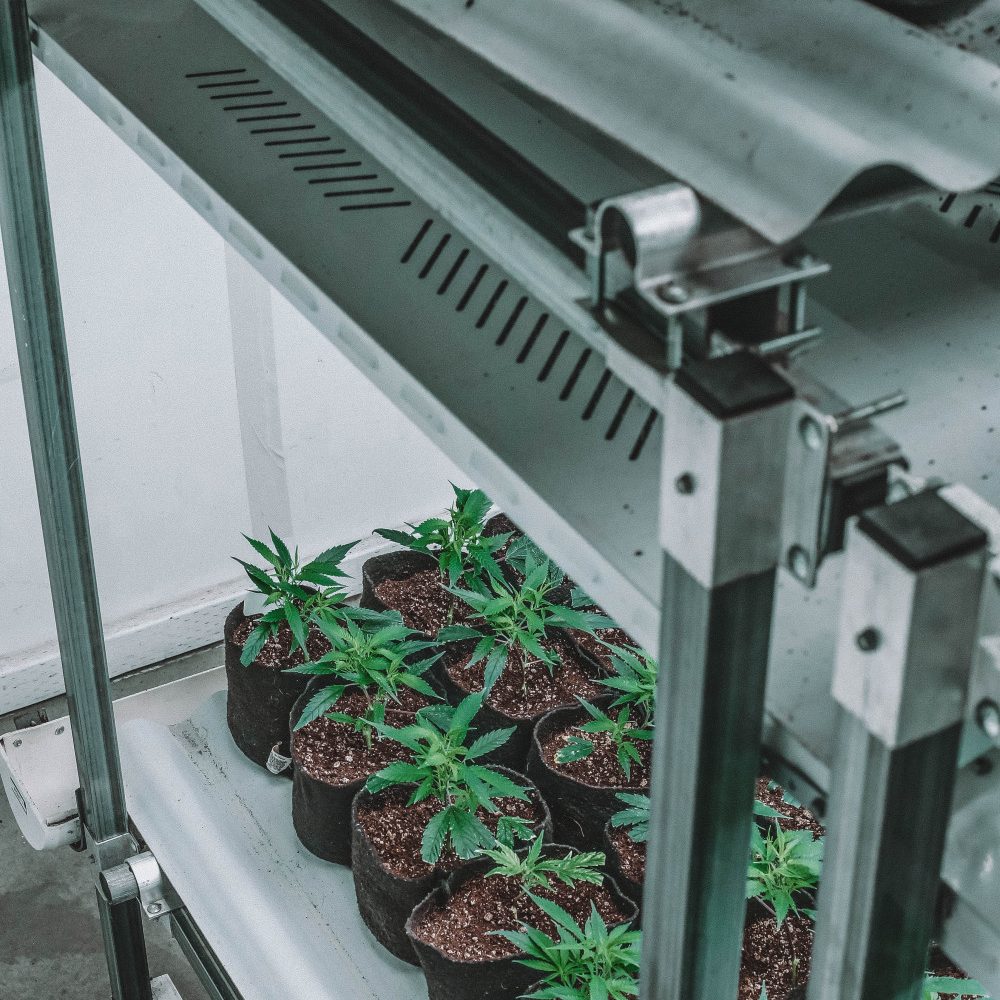
Indoors, there will be less likelihood of pests overrunning your crops (though you should still be careful to use sterilized soil). But, indoors, mold may be able to spread more readily. Lack of light, poor air filtration, and irregular watering may contribute to the growth of mold on indoor cannabis plants.
So, indoor growers should be hypervigilant of any fuzzy growth. To simplify the process of growing indoors, and to help regulate and reduce the growth of mold and bacteria, try using a grow box. Check out this list of some of the best indoor grow systems to find out more and to see a few examples of premium grow boxes.
2. Keeping the Smell Down

Lovers of weed enjoy the sometimes pungent scent of cannabis, but if you are growing inside at home, you might not want that smell wafting through the hallways. In the vegetative stage, the leaves of the cannabis plant produce a light smell that can usually be masked by a closed-door or a few spritzes of air-freshener. Once the plants mature and enter the flowering stage, the scent of the cannabis plant becomes far more intense, overtaking your home.
If you live in a single-family home, don’t mind the all-encompassing smell, and aren’t worried about visitors making comments, more power to you. If you want to keep the smell to a minimum out of respect for your neighbors, there are plenty of discrete ways of toning down the smell.
The simple addition of a fan to increase the circulation of air in the room can help reduce cannabis plant odor, helping to regulate humidity and prevent the room from becoming too warm as the plants mature.
Carbon air filters and air sanitizers like Ozium may help to keep the smell at bay but won’t last forever. The best way to keep the smell down is to keep it contained to a small space, which is why many growers opt for a discreet grow box with built-in filtration and lighting.
3. Monitoring Your Plant’s Nutrient Levels

Like people, plants need food to live. Lack of the proper nutrients can make plants weak, reduce their flowering ability, or kill them altogether. Luckily, you can purchase the necessary nutrients pre-mixed for your cannabis plants, so all you have to do is learn when and how to feed them.
The nutrient needs of cannabis plants change as they grow, and each stage has slightly different requirements. In the world of plants, nutrients are described by the “NPK ratio”. This describes the amounts of three major nutrients: Nitrogen, Phosphorus, and Potassium.
Your cannabis plants will begin needing nutrients once they pass the stage of germination and enter the seedling stage. Seedlings should be fed a ‘grow’ fertilizer with an NPK ratio of 20:5:10. The grow fertilizer can be applied to the plants throughout the seedling and vegetative stages until the plants begin to produce their first buds. In the flowering stage, cannabis plants should be fed a fertilizer with an NPK ratio of 5:30:20.
4. Knowing When Your Plant is Ready to Flower

When growing regular cannabis plants, it is up to the grower to know when they have reached an appropriate level of maturity to safely induce flowering. This is done by altering light cycles to force the plant to flower, but doing it at the wrong time can mean poor crop yields or unsuccessful flowering attempts.
The easiest way to overcome this challenge is to plant autoflowering seeds, which pretty much guarantee you an excellent yield from your cannabis plants. Cannabis seeds that autoflower enter the flowering stage after a few short weeks of being in the vegetative stage, and do this without a change of lighting. Add carefully timed light cycles, and autoflower seeds could produce some of the largest crop yields you can grow at home.
5. Knowing How Many Times to Flush

‘Flushing’ your cannabis plants is as easy as replacing their nutrients with pure water, a process that helps the plants to transition between growing phases and nutrient plants.
There are three key moments during your grow where you should flush your cannabis plants:
- In the transition between the vegetative and flowering stages
- In case of excess/over-feeding
- Before a harvest.
At the end of the vegetative phase, and before you begin to give your cannabis plants the 5:30:20 nutrients needed during the flowering phase, flush the plants by giving them only water. This will help to drain the old nutrients out and make room for the new, also helping to boost the flowering phase. Similarly, before you take your plants from the flowering to the harvest stage, perform a flush to prepare them for picking the buds.
In case of overfeeding, a nutrient imbalance, or a pH imbalance, a brief flush can help get the plants back on track by giving them a clean slate.
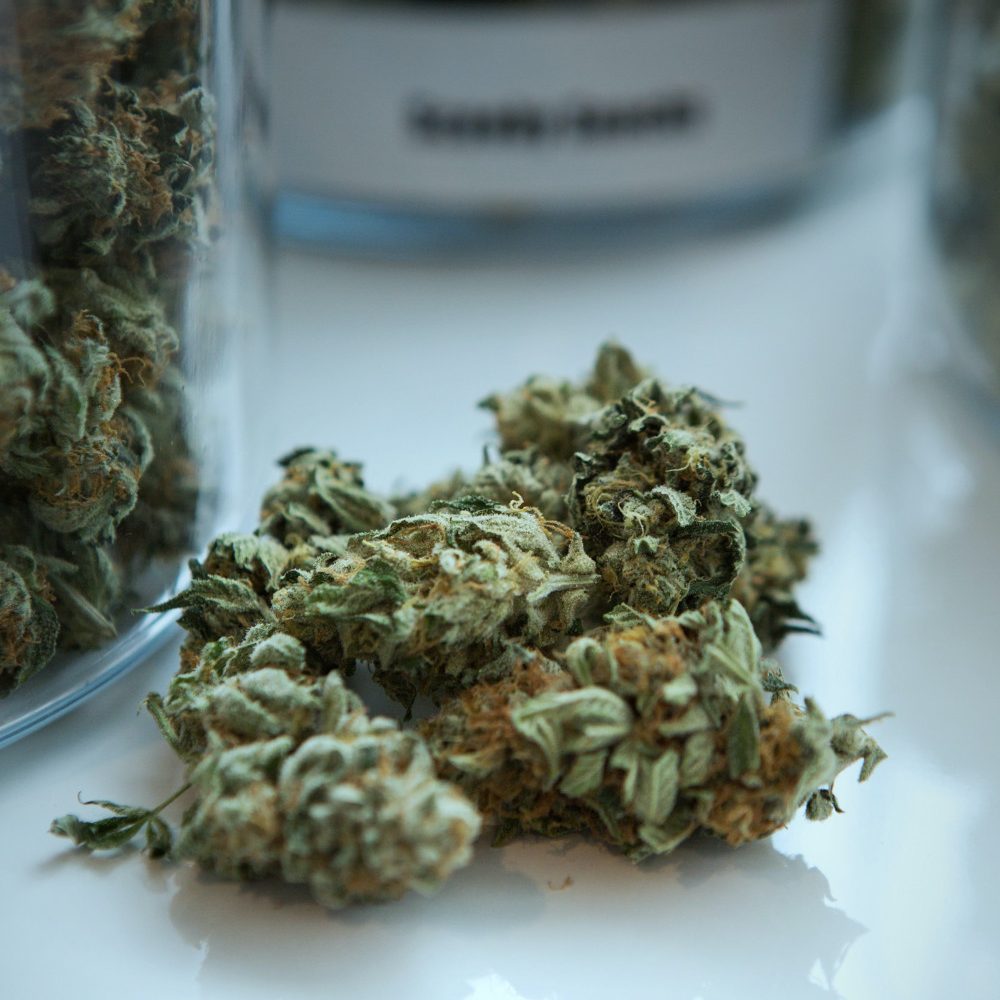
6. Picking Buds Too Early

If you are new to growing cannabis or are fearful of pests or mold overtaking your crops, you may pick your buds too early. Though there is nothing ‘wrong’ with the slightly immature buds, picking too early will cut your season short, and produce a smaller yield than if you had allowed the plants to mature fully. Remember, you don’t want to pick your buds too late, either, since over-ripened buds lose the quality and potency of their THC.
7. How and When to Trim Your Plant
It can be nerve wracking in the final days of a home grow as you eyeball your plants, trying to determine whether or not it is time to pick the buds. Over time and as you gain more experience, you will begin to have a natural feel for when your plants have reached the perfect point of maturity. Until then, look for some of these signs to know when your plants are ready for harvest:
- When half the trichomes frosting the outside of the buds are amber and half are clear and milky
- When the leaves of the plant begin to yellow
- When pistils begin to turn reddish-brown
If you trim your cannabis plants at the perfect moment, you are in for a beautiful and abundant harvest of THC rich buds. Harvesting a full cannabis plant can take quite some time, and if you have more than one to harvest, it can take hours.
Using a debudder bucket lid can speed up the process, and help you to safely and uniformly trim the buds from your plants. Use the debudder lid and a 5-gallon bucket to quickly and carefully harvest your home-grown weed, and enjoy saving your fingers and your time.
The Most Difficult Challenge: Waiting for Buds to Cure

While it isn’t technically a gardening challenge, perhaps the most difficult challenge of all is waiting the extra weeks after harvest for your weed to cure. Some novice growers make the mistake of jumping into their stash too early and find themselves disappointed in the results.
However, if you can stand to keep your hands out of your buds for a few weeks, allowing them enough drying time, you’ll be rewarded with the joy of getting high on your own, home-grown supply!